My5 – Import KPI values from a spreadsheet
Import KPI values from a spreadsheet
You can upload data from a spreadsheet if you want to add all of your KPI values in one go or add some historical values.
Sample Spreadsheets:
Important note: Spreadsheet updates will overwrite manual updates – where the updated date is the same. For example, if a manual update is made to a KPI using the date June 6th 2022, and a date header in the spreadsheet for a column is June 6th 2022, the spreadsheet will overwrite the manual update.
A spreadsheet has to be prepared before an upload can take place. We suggest this operation takes place on a Mac or PC rather than your phone.
Open the app on your Mac or PC. Click on the Settings cog, top-right and click on Import Spreadsheets.
Go to the next step.
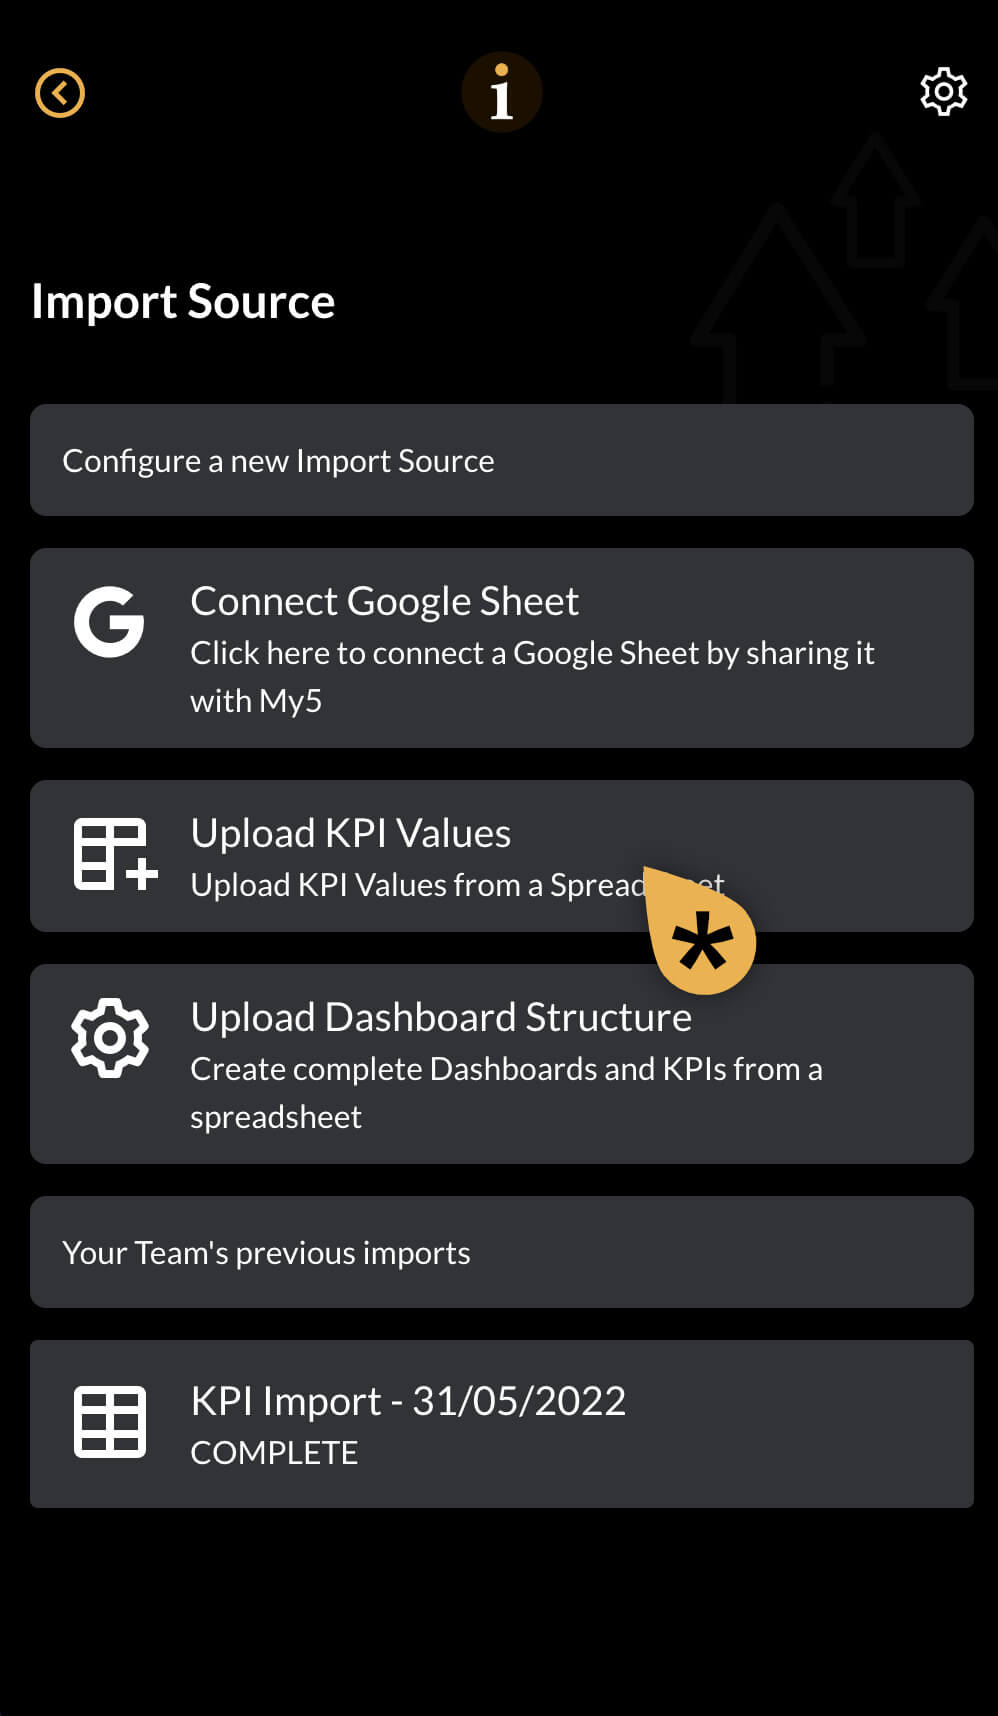
Import source
Click on the panel called ‘Upload KPI Values’
Go to the next step.
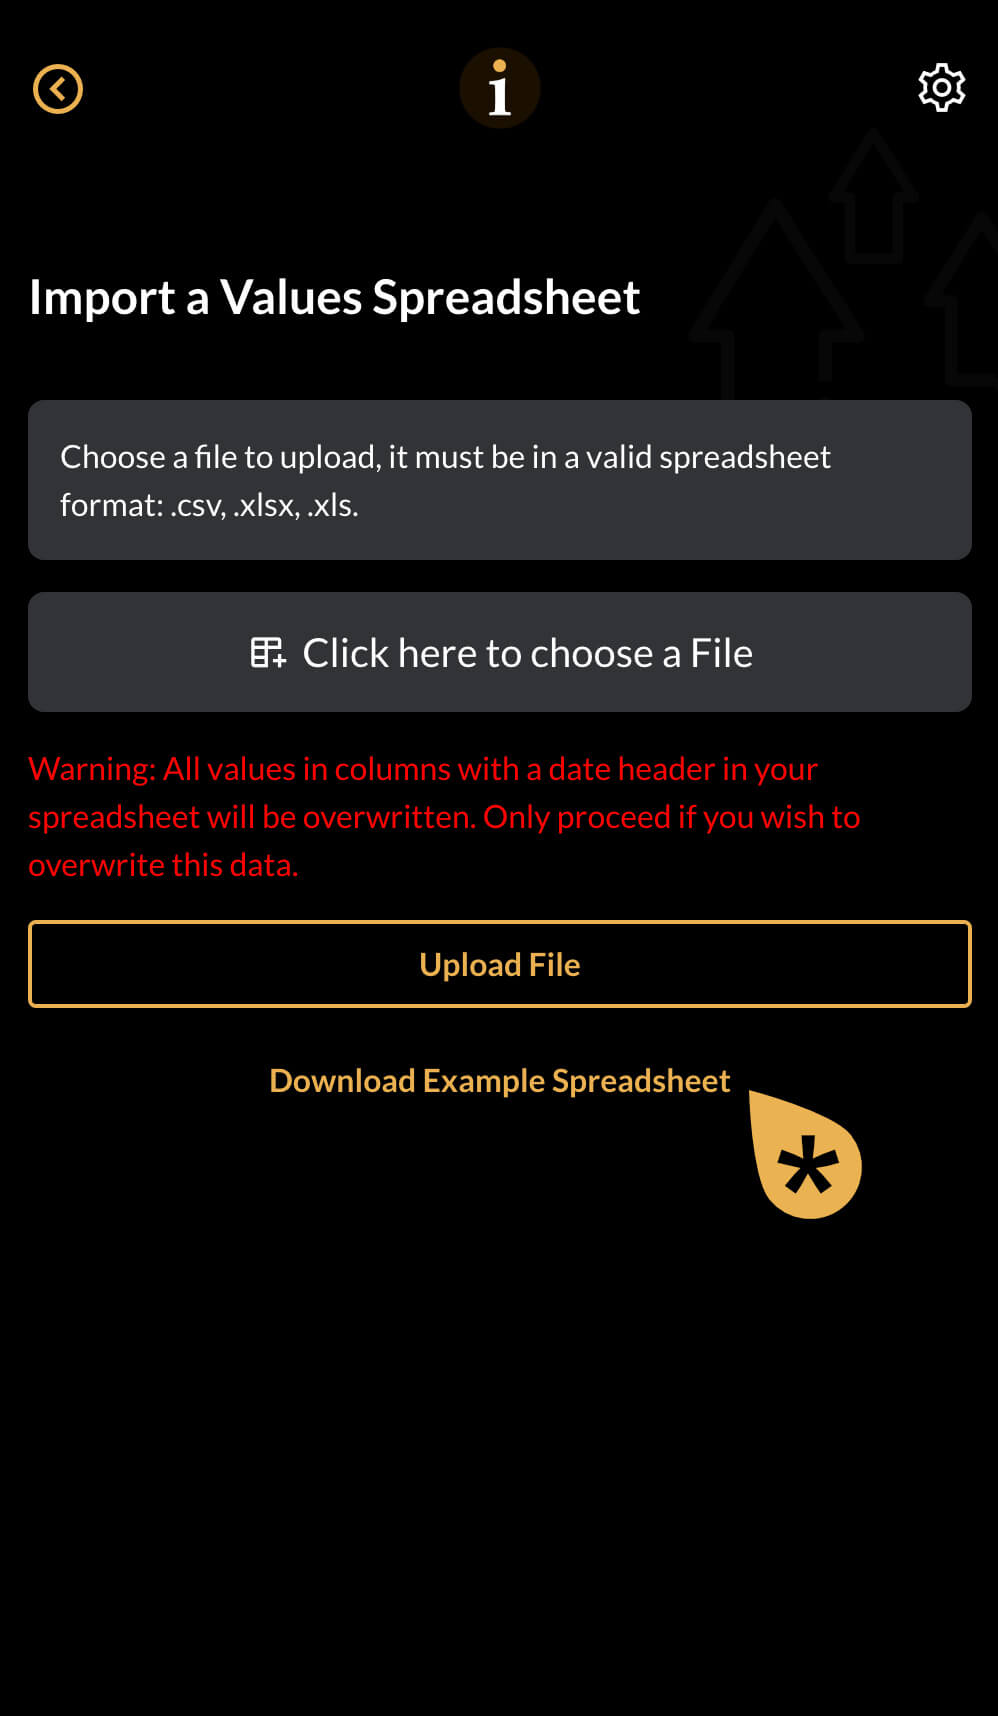
Download sample
Click on the link ‘Download Example Spreadsheet’.
You will receive a copy of the ‘My5ValuesSample.xlsx’ spreadsheet.
Use this spreadsheet as a template to update your KPI actual values.
Look at the spreadsheet image below.
KPI values spreadsheet sample
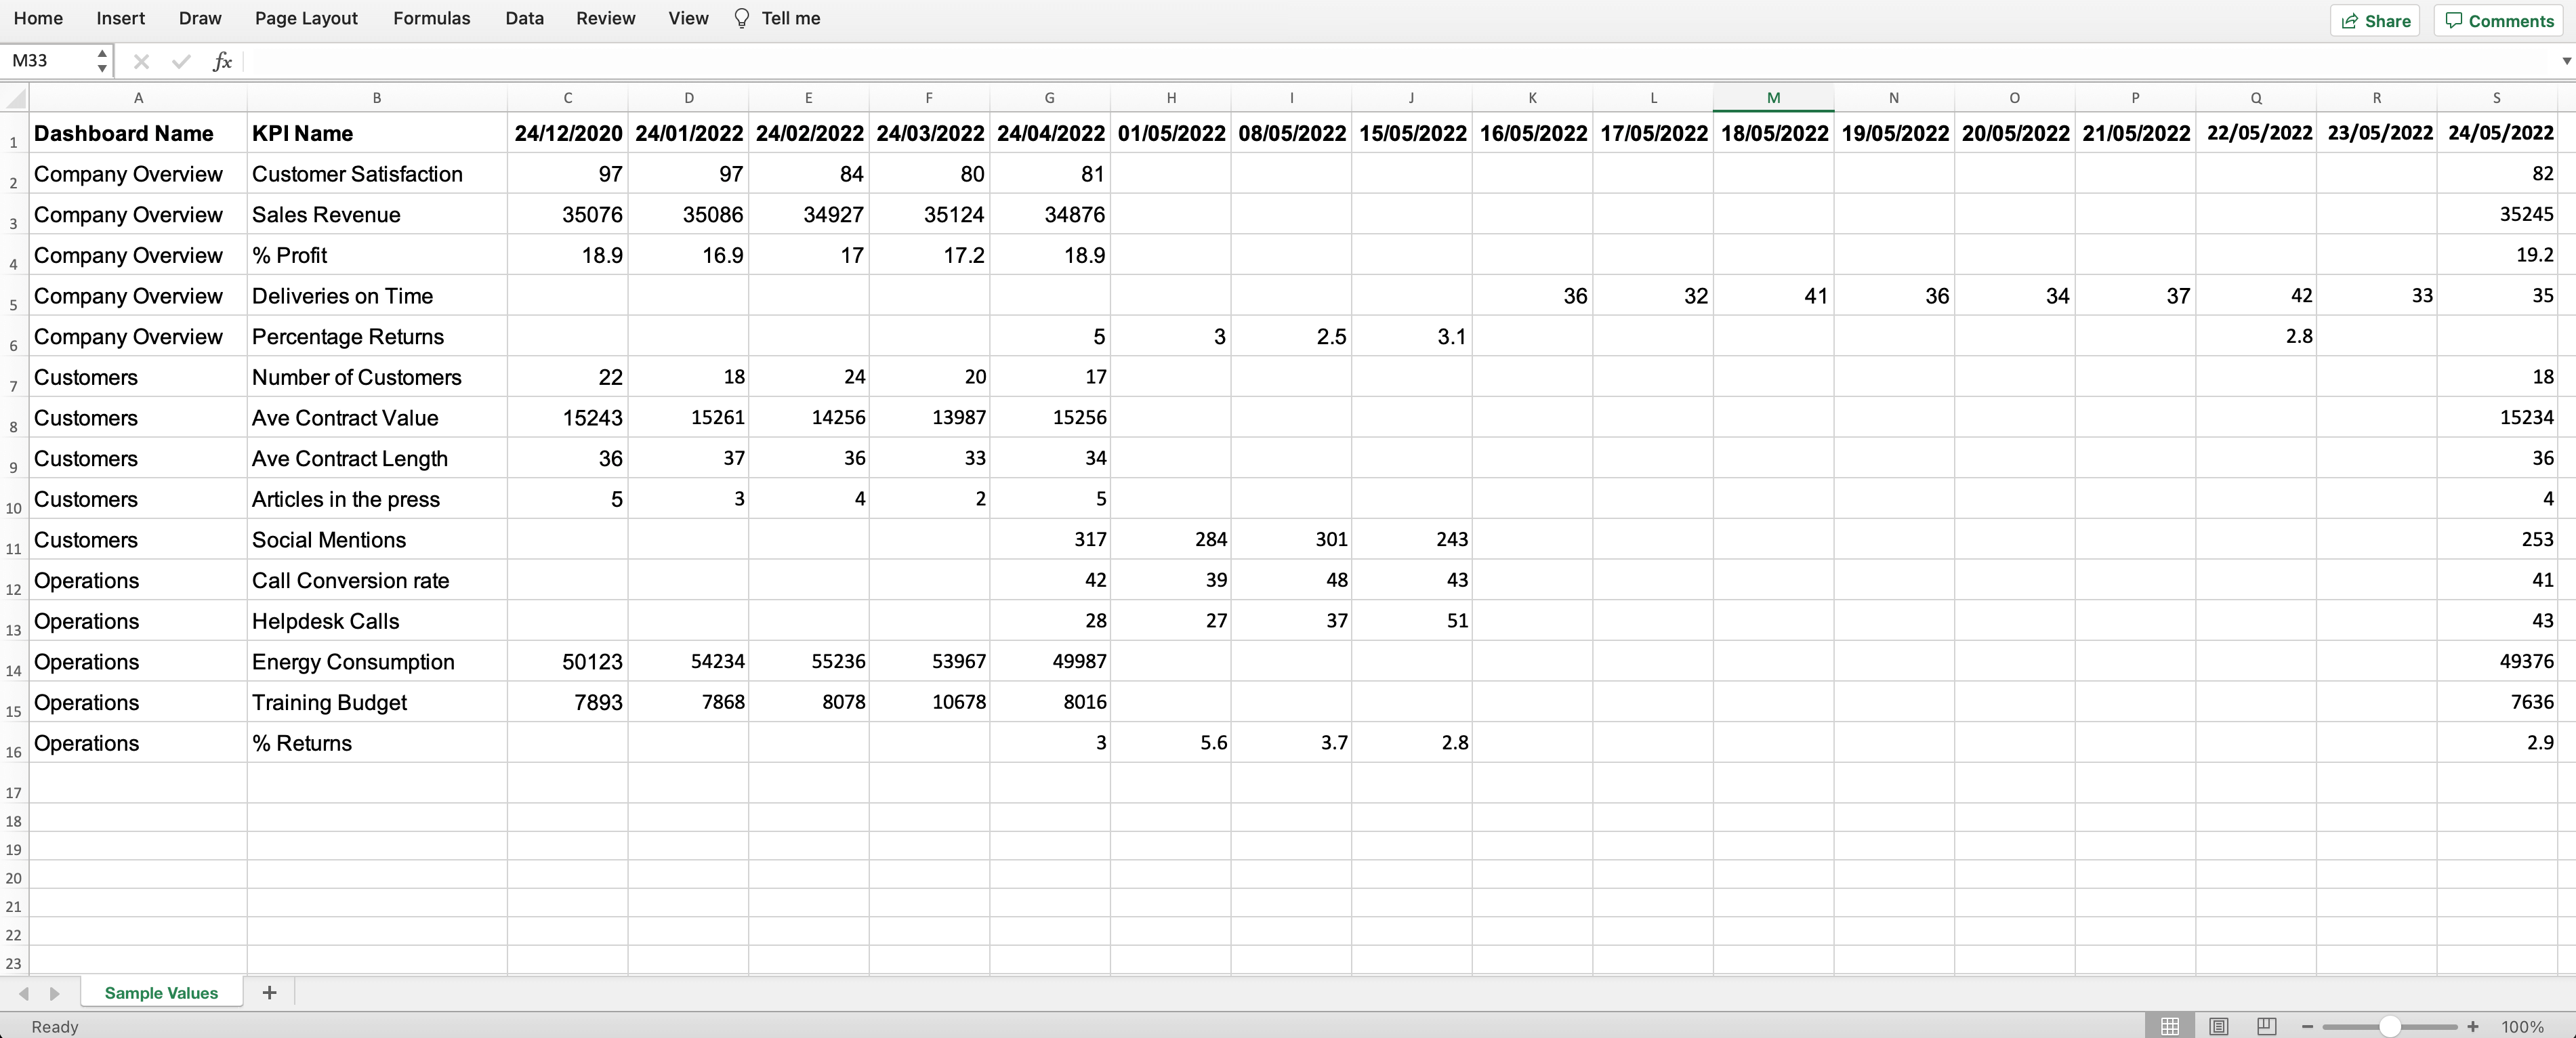
The format of the Update KPI Values spreadsheet has to follow that of the sample. The details are as follows:
1. Dashboard & KPI names – The content of the Dashboard Name and KPI Name columns must be the same as the Structure you have created
2. Dates – the date header must be in the same format as the Sample you have just downloaded (obviously, the dates can be different)
You can see from the example that the dates in the column header to the left contain Months. The dates toward the middle of the spreadsheet contain Weeks. And the dates to the right of the spreadsheet contain days.
The above date formation is not essential, but it can be helpful when arranging your data. Don’t forget that the app will only display the last six periods of data in the details view.
In the monthly view, you will see the last six months. In the weekly view, you will see the last six weeks and in the daily view, the last six days.
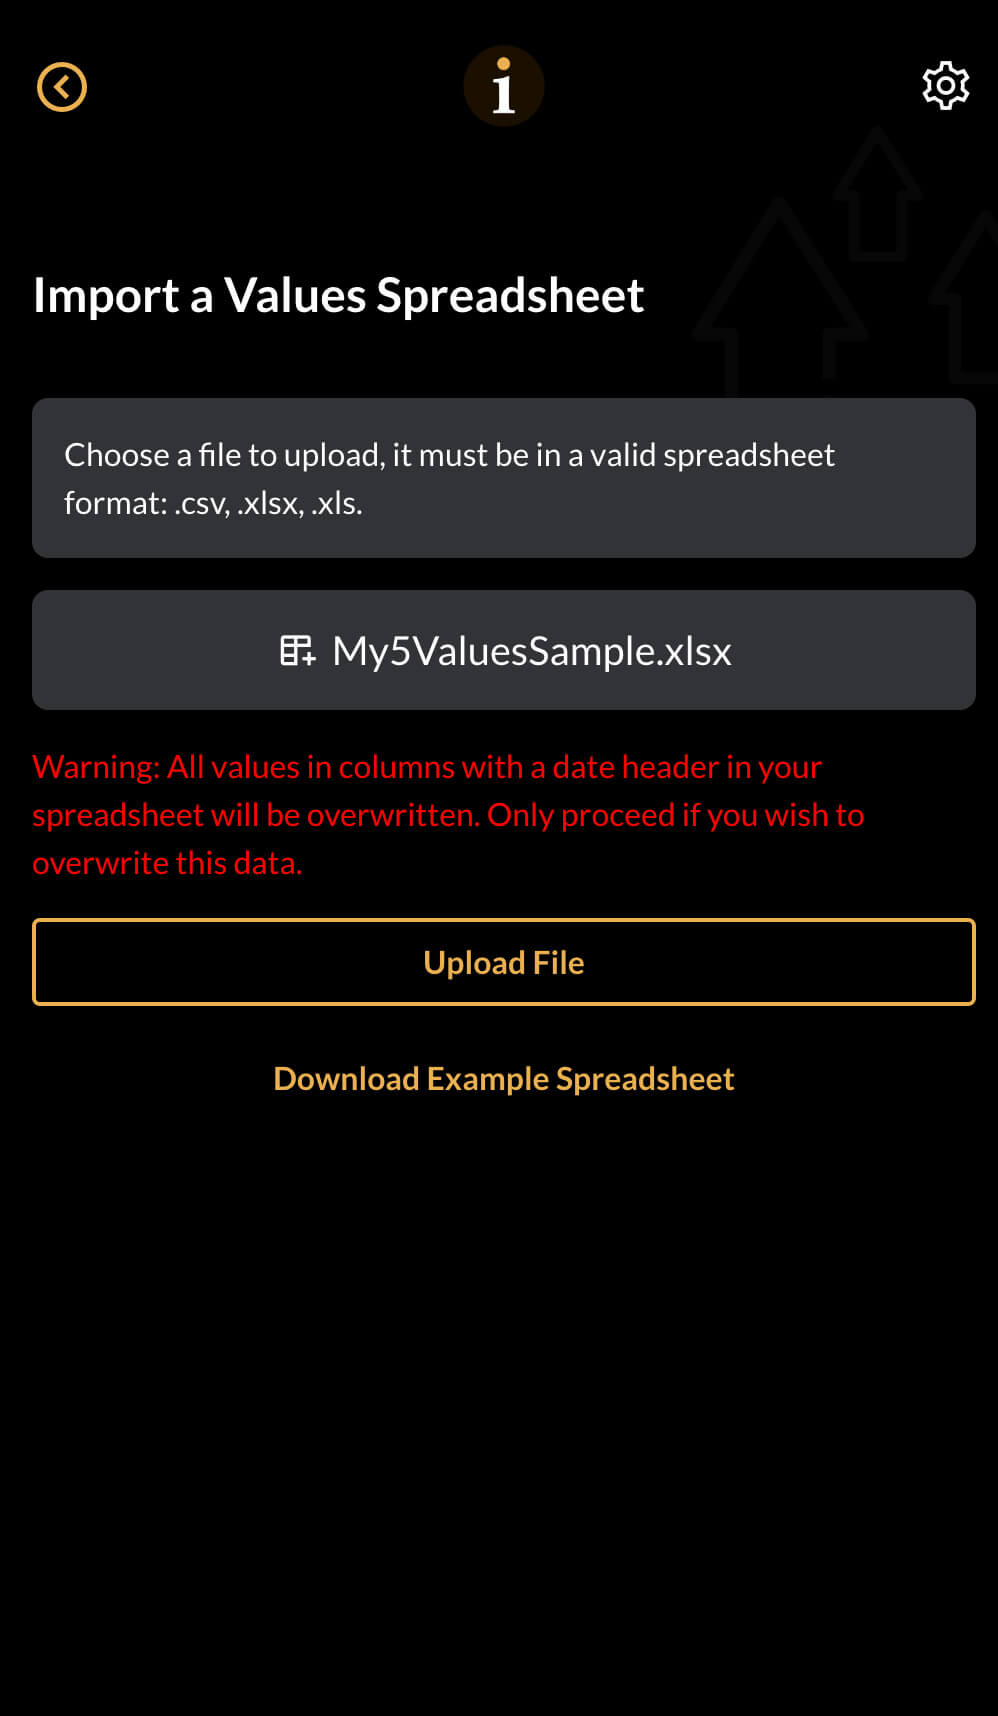
Upload the spreadsheet
When you have completed your spreadsheet, place it somewhere accessible.
Open the app and go to the ‘Import a Values Spreadsheet’ screen.
Click on Click here to choose a file and find your spreadsheet and add it to the box.
Click on Upload File and go to the next step.
Upload – success message
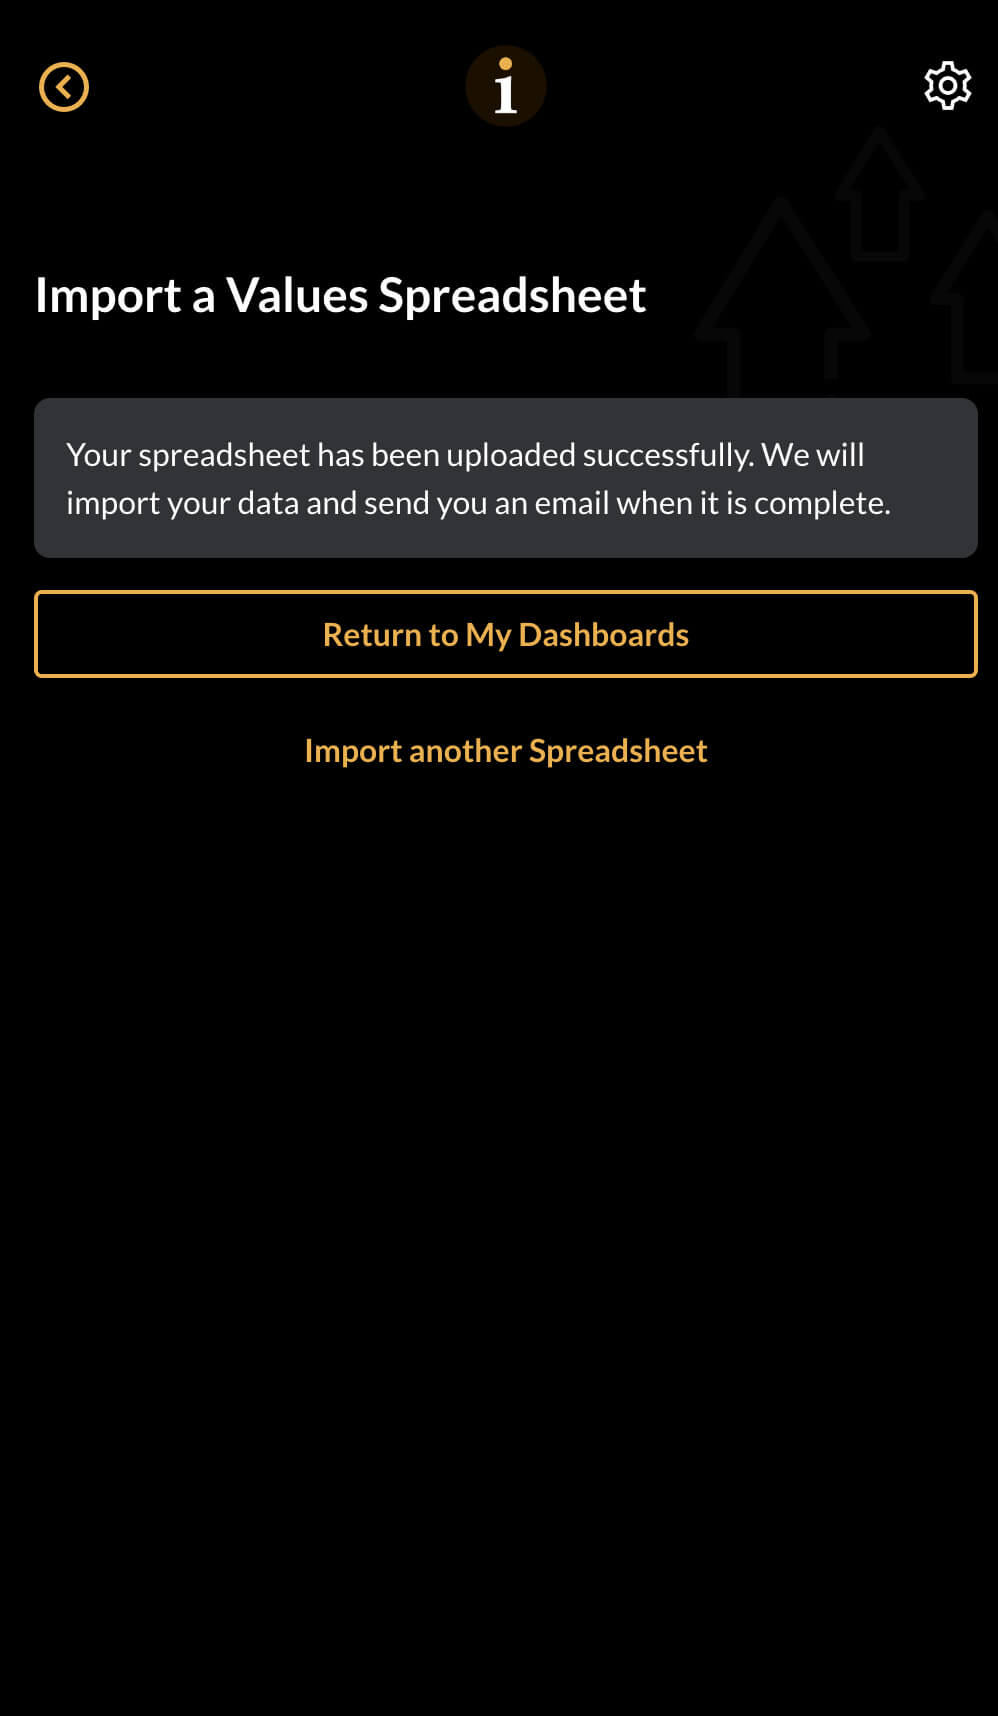
If the upload was successful you will receive a message like the one in the image. You will also receive an e-mail telling you that the upload has been completed.
If the upload fails, you will receive an e-mail with some information that might help rectify the problem.
Usually, if there is a problem, it will be because the spreadsheet is in the wrong format. Check this first.
Upload – the result
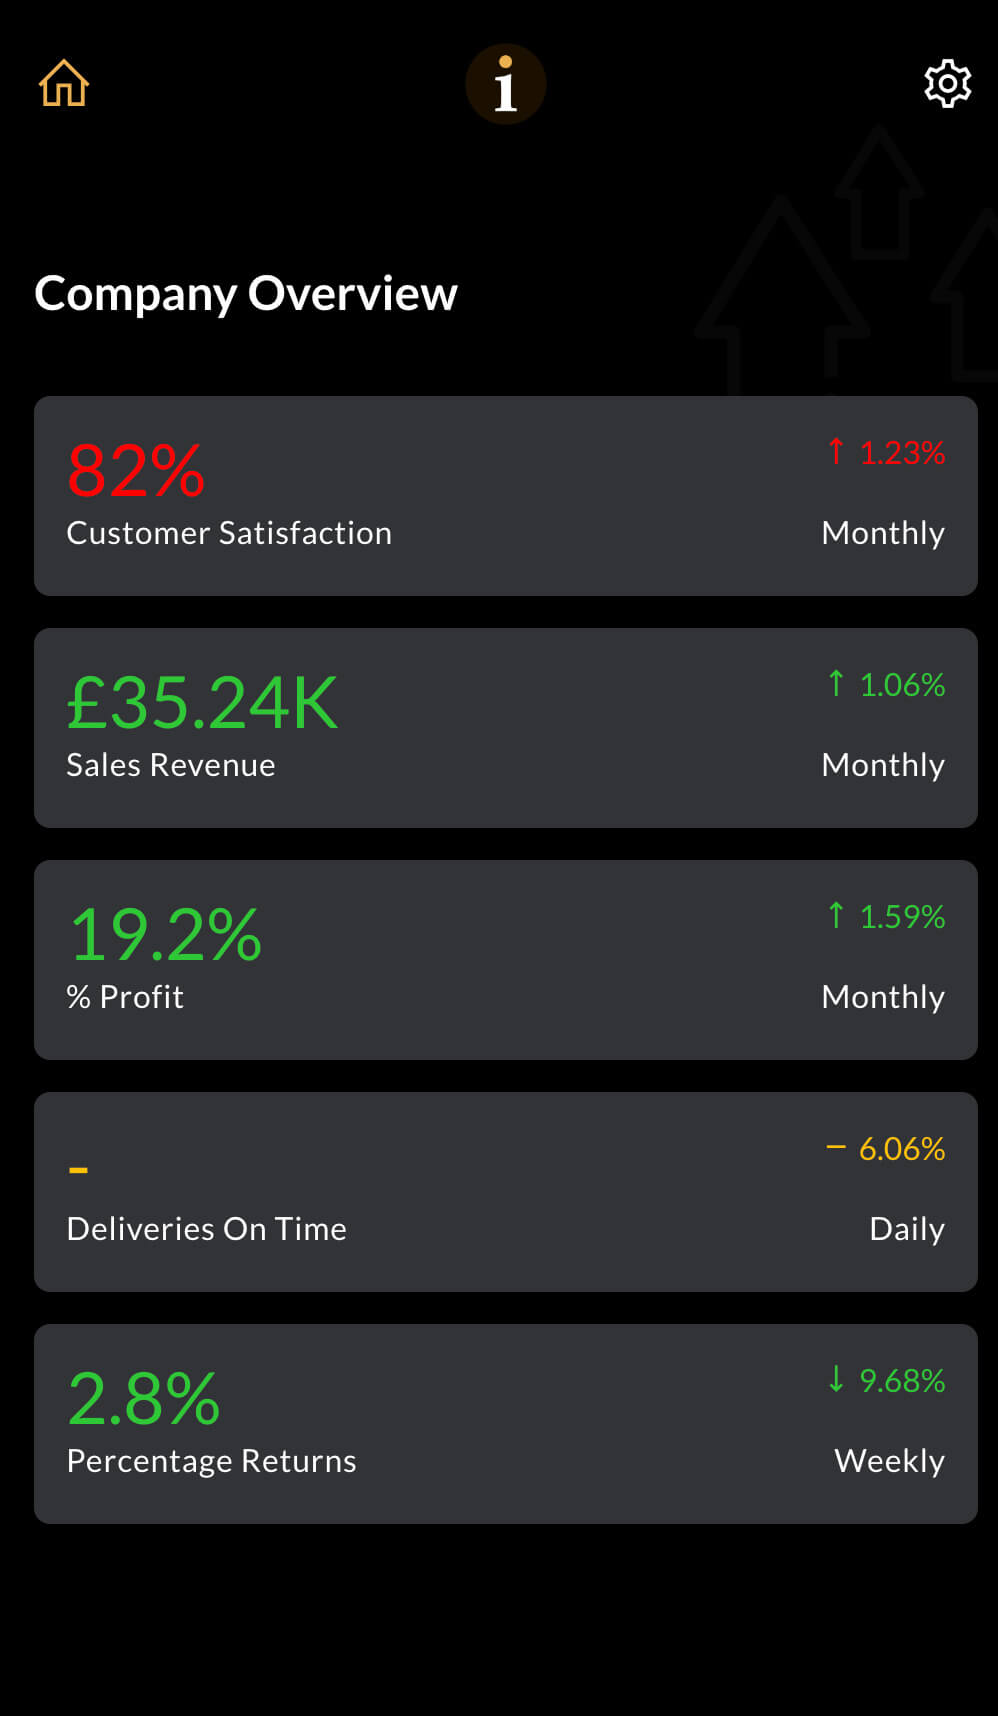
A successful upload might look something like this. If you look carefully you will see that Deliveries on Time does not have a value. This is because the date at the time this Guide was created was 31st May 2022.
If you go back to the spreadsheet, you will see the last value entered for Deliveries on Time was 14th May 2022.
The app defaults to the current day.
To see the KPI values for Deliveries on Time, click on the KPI, it will take you to the Details Screen.
Go to the next step.
Details screen
(date specific)
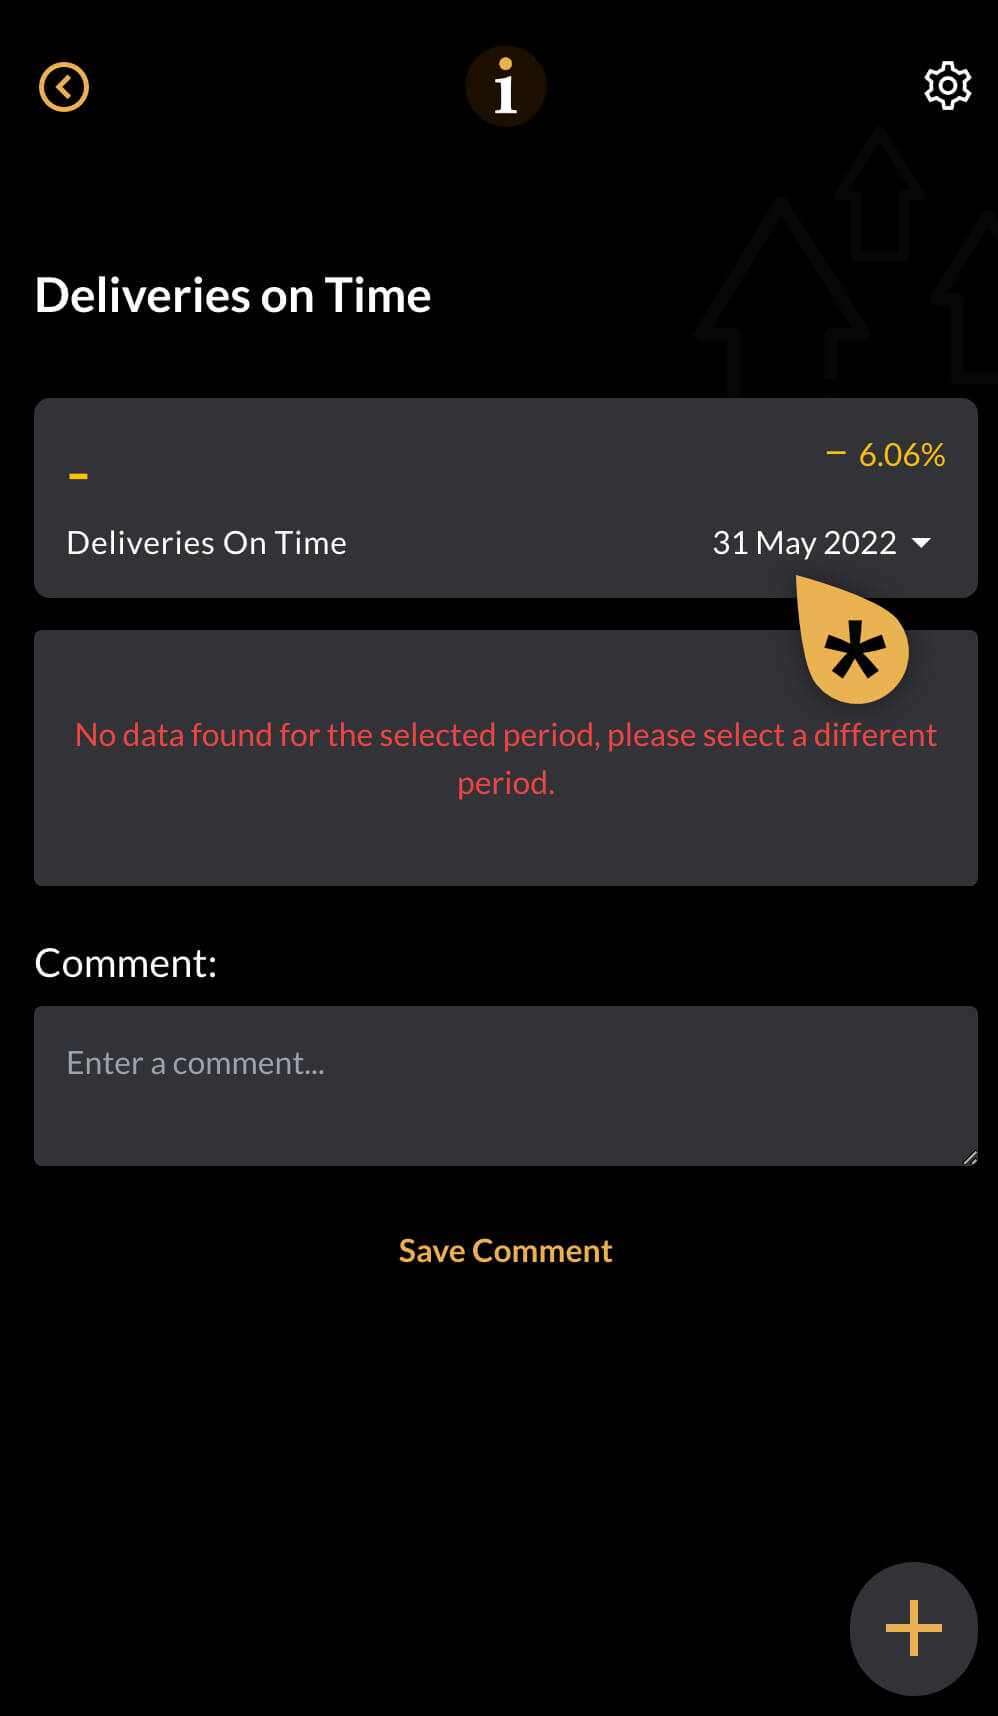
When you reach the Details screen, you will notice that there is still a lack of data!
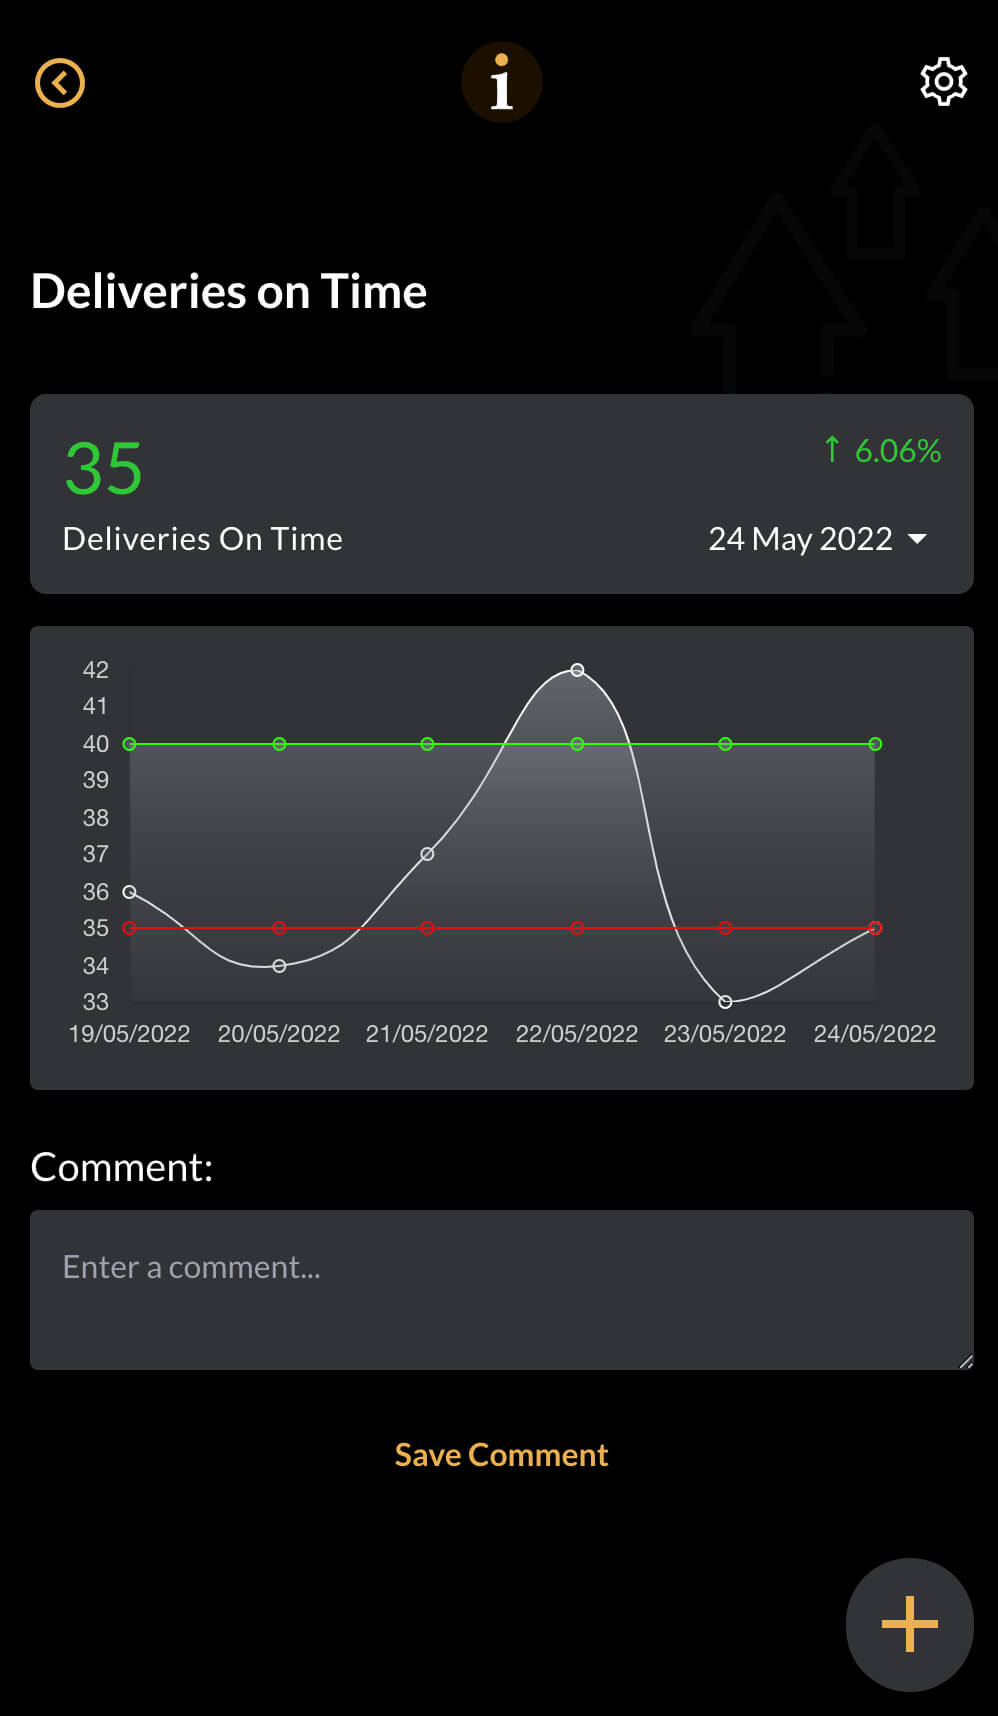
Click on the date selector and select an appropriate date. In our case, it is May 24th 2022.
When the correct date is selected, you will see data for six periods, in our case, six days.
Details screen
(correct date)
When the correct date is selected, you will see data for six periods, in our case, six days.
